|
| Recent Shower Fix |
|
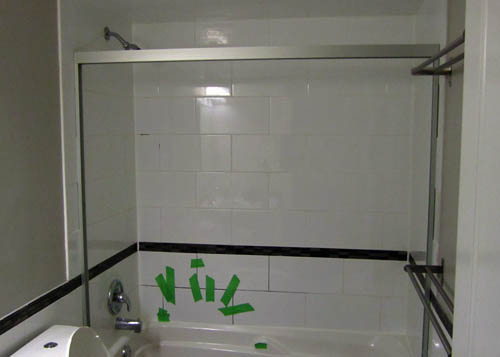
This shower was ONLY 10 MONTHS
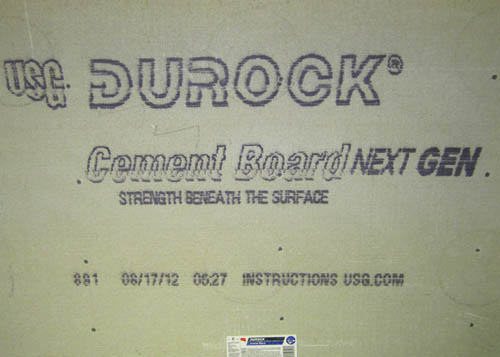
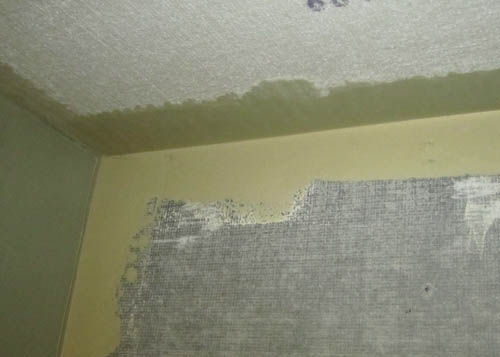
OLD and WAS LEAKING into the downstairs kitchen. The pictures below illustrate how NOT to build a shower! Waterproof drywall was used (Not cement board - and was not lapped over the tub lip), There was no vapour barrier all around lapping the tub lip, acrylic adhesive was used, and inexpensive grout that was not sealed! So it had to be gutted, dried, additional framing and shimming were added, 6mil vapour barrier added all around and siliconed to the lip. Cement board was installed on the walls, the seams were taped and cemented. Then the tilework began using Kiesel Servolite thinset and 10 x 13 Italian tiles. |
| Go Back |
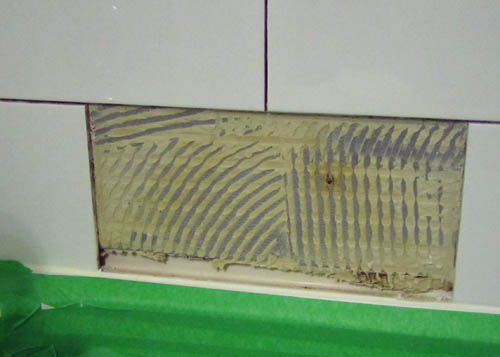
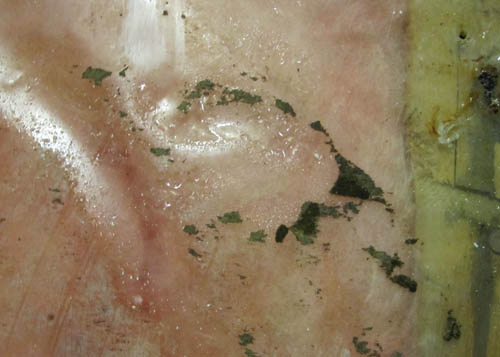
| Before.. attempting to regrout - tiles literally fell off | Never use "fibre skinned drywall" or acrylic adhesive in a shower! |
 |
 |
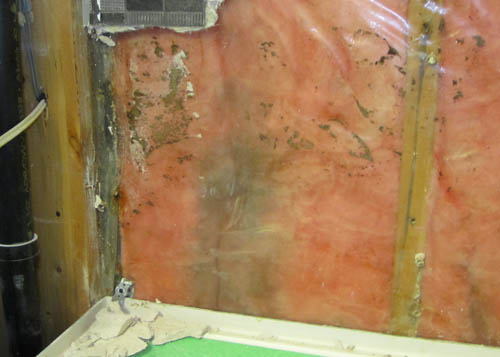
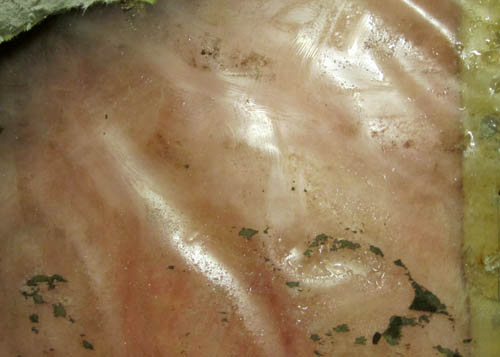
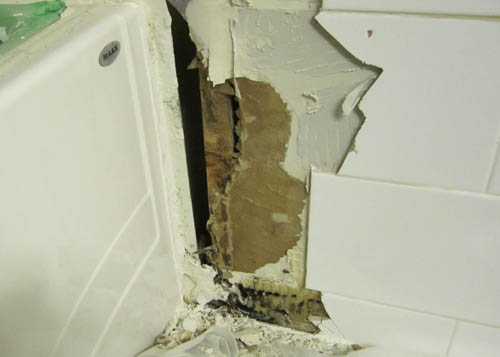
| Demo exposed the wet rot.. | Rotted DensShield removed.. | Wet everywhere.. |
 |
 |
 |
| And the walls beside the tub skirt crumbled.. | After gutting.. |
 |
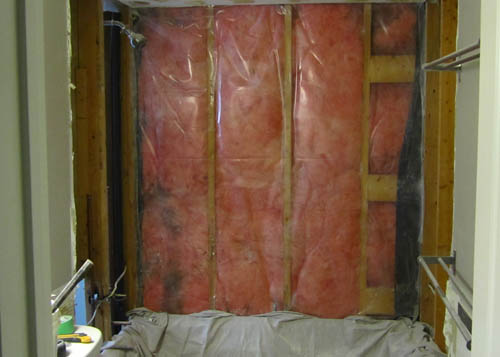 |
| The rebuilding begins.. | Vapour barrier and cement board added.. |
 |
 |
| Seams taped and cemented.. (Kiesel Servolite thinset) | Starting to tile.. |
 |
 |
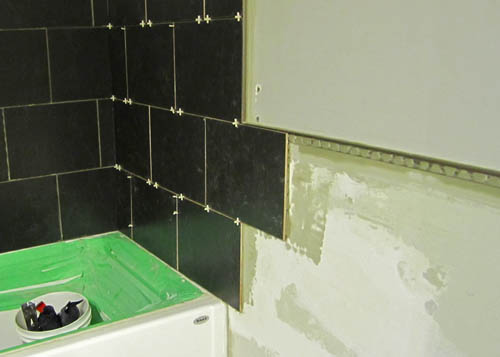
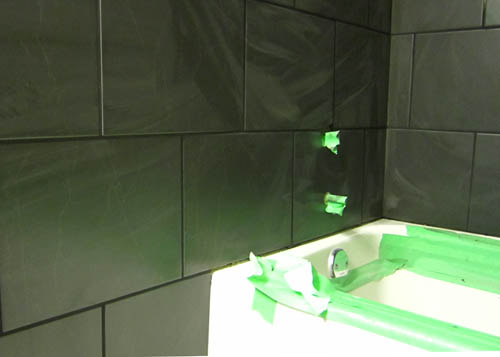
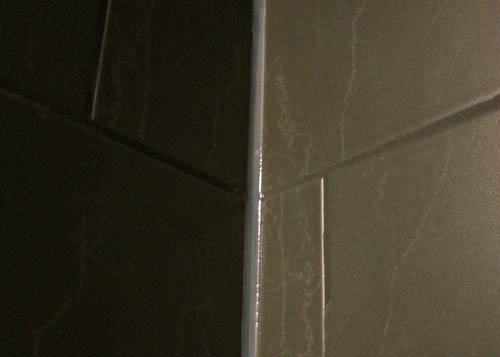
| Metal trim added on all edges.. | And horizontally to continue tiles down the wall.. |
 |
 |
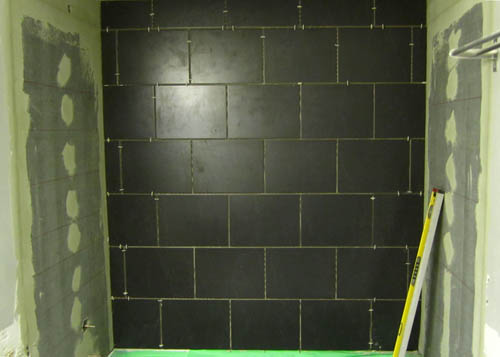
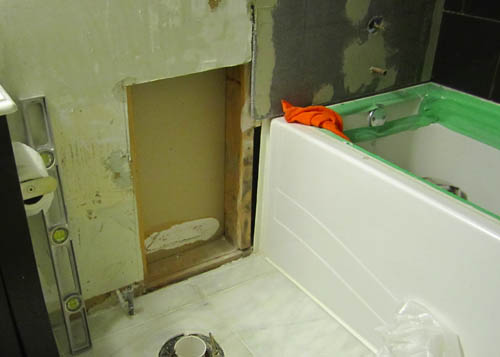
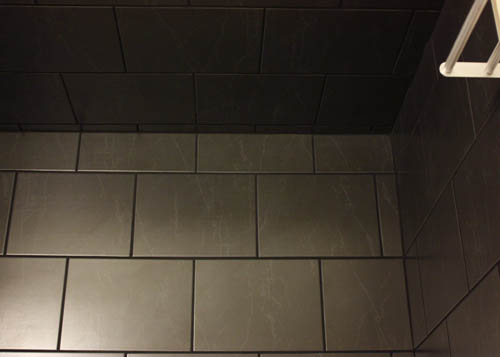
| Toilet removed to repair rotted drywall (both sides of the tub skirt) | Tub and ceiling all tiled.. |
 |
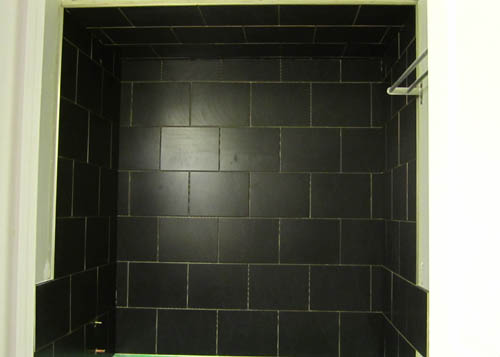 |
| The grouting begins.. (Kiesel waterproof grout) | After grouting.. |
 |
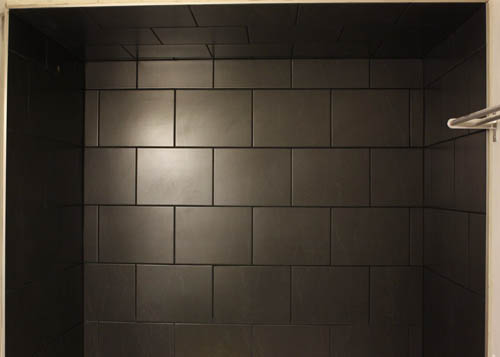 |
| After grouting.. | After grouting.. |
 |
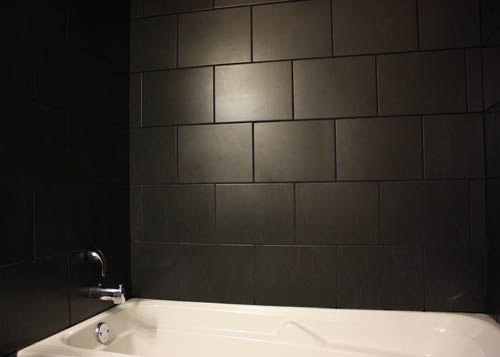 |
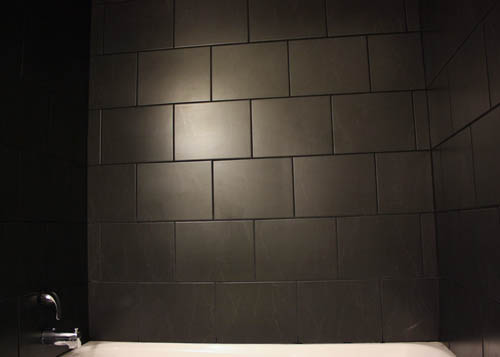
| After grouting.. | Silicone the joints.. |
 |
 |
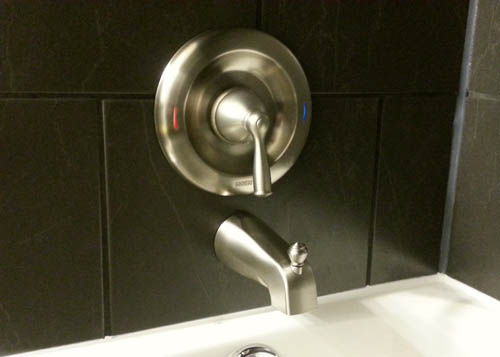
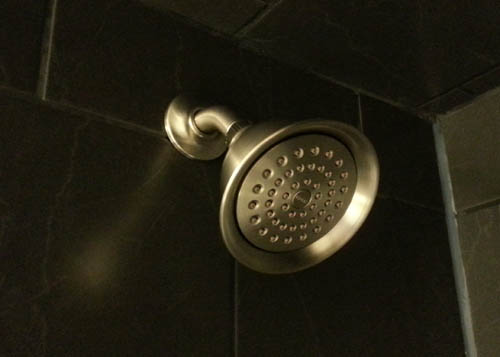
| New Moen brushed nickel trim kit.. | New Moen brushed nickel trim kit.. |
 |
 |
| After grouting.. | More to come.. |
 |
|
| go back |
| home | request for service or a quote | what we do | past projects | about us |